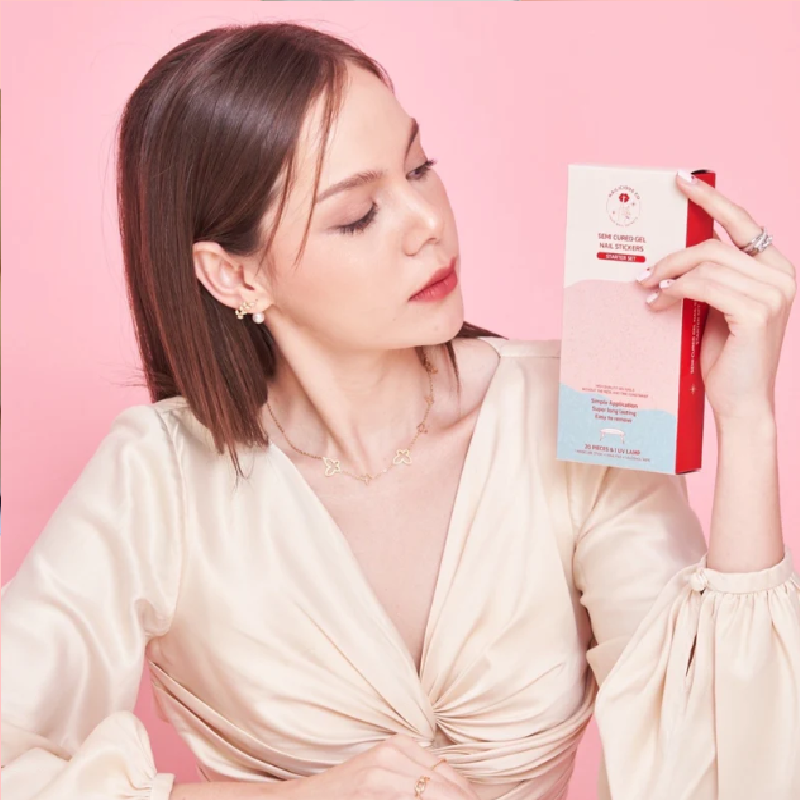
For our newbie gel sticker aficionado – we get the whole kit’n’kaboodle! Each Starter kit includes:
- Your choice of Nailicious Co. semi-cured gel nail stickers
- Nail file
- Manicure stick
- Alcohol wipe
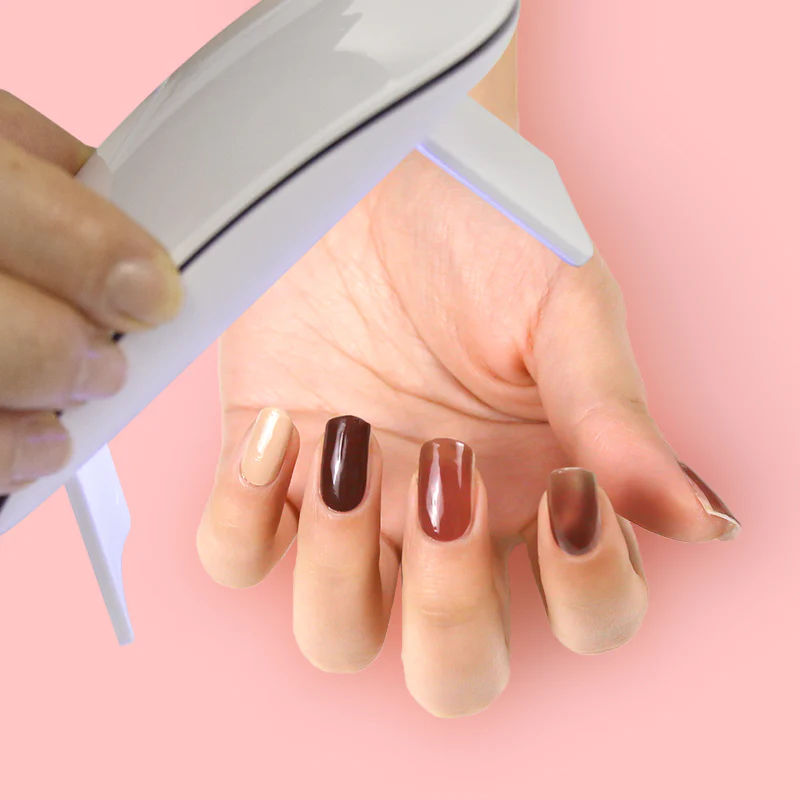
- UV LED nail lamp
- USB connector for lamp
- User manual for lamp
SEMI-CURED NAIL STICKER SHEET OPTIONS
The Nailicious Co. Semi-cured nail sticker sheets are made from real gel polish and only 60% cured (finished/solidified) to allow for flexibility and stretch.
After cleaning your nails, removing any oily residue or polish and pushing back cuticles, simply place the bottom of your sticker aligned just off the edge of your nail bed.
Once firmly positioned, stretch and mold to cover the nail completely. Secure the remaining 40% with 60 seconds under any UV Nail Lamp. Use the nail file to remove any excess. Voila!
FAQS & TIPS
As with all self-applied treatments, there are specific conditions and preparations that will ensure the best possible application and longevity of your Nailicious nails.
PREPARATION
How to prepare your nails for Nailicious Gel Stickers.
Remove any existing polish, base coat or other residues from your nail bed and cuticles, ensuring it is clean and dry.
Some cuticle nourishing oils or preparations may leave an oily surface once applied. You MUST ensure you use the alcohol wipe on both the nails, cuticles, nail bed AND fingertips for picking up and placing the stickers. Any residual oil will interfere with the adhesiveness of the Gel Nails. Start to adhere next to the cuticle, then stretch and press outward and upward.
What if I have brittle/dry or thin nails? Can I still use Nailicious Gel Stickers?
Then Nailicious is perfect for you! As a product that is proudly toxin and damage-free, Nailicious will provide salon-quality manicures WITHOUT the damage! This makes Nailicious perfect for brittle, thin and dry nails.
What if the size of the 10 nail stickers don’t fit my nails?
Being 60% cured, the gel stickers are able to be stretched and manipulated to fit all nail sizes. Simply adhere near the cuticle onto one edge and stretch up and outward until the nail is covered.
Where is the best position to stick the Nailicious Gel Nail Stickers?
To ensure the Gel Sticker is placed correctly, make certain the sticker doesn’t overlap onto the skin of the nail bed. Adhering the stickers to the skin will result in them peeling off, and hair getting stuck underneath the nail as you touch your hair.
Why do I need the alcohol wipe?
Nails and skin are notoriously oily. Adhesives and oil? Don’t mix. The alcohol wipes will dissolve any oily residues, leaving a clean surface that provides optimal sticking power for your Nailicious manicure.
Do I have to use the Nailicious UV lamp?
Any salon-grade UV lamp is fine to use, provided it’s not too strong. For details on our UV Lamp, click here.
Can I use these on top of acrylic or press-on nails?
Absolutely! To freshen up an existing pair of artificial nails, apply your Nailicious nails over the top, to cover any growth space between the acrylic/gel nail and the cuticle.
TIPS & TRICKS
For a more secure adhesion, you can take a lightly coarse buffer and gently buff the nail surface to provide more grip, as nails are naturally quite smooth. This step is not essential for application but may be of use should you have troubles with your stickers coming off sooner than anticipated.
KEEP DRY
Prolonged submersion in a pool/ocean/spa (or doing the dishes – free pass!) is advised against for the first 12 hours. Pat dry after showering and avoid rubbing.
REMOVAL
To remove Nailicious Gel Stickers, simply apply an oil/acetone based remover to gently unbind the adhesive from under the sticker. Ensure you do it gently and take your time to avoid nail damage.


trx address generator –
I read this article fully concerning the difference of most up-to-date and previous technologies, it’s remarkable article.|
tronaddress.org
trx generator –
This page definitely has all the information I needed about this subject and didn’t know who to ask. |
tronaddress.pro
gelatin recipe –
Greate article. Keep posting such kind of information on your page. Im really impressed by your site.
https://youtu.be/ebzHmGS-nuc